前言
在前文《Solidity 智能合约开发 - 基础》中,我们学习了 Solidity 的基本语法,并且了解了可以通过 Brownie 与 HardHat 等框架进行调试。但在使用这些封装好的框架之前,我们可以通过 Web3.py 直接与我们本地的 Ganache 节点进行交互,以便更好了解其原理,也为我们后续更好使用框架打好基础。
本文以 Web3.py 为例,实现了基础的合约编译、部署至本地 Ganache 网络、与合约交互等功能。
可以点击这里访问本测试 Demo 代码仓库。
Web3.py
Web3.py 是 Python 的一个开源库,它提供了一个简单的 API,可以让我们通过 Python 程序与以太坊网络进行交互。其 GitHub 地址为 ethereum/web3.py,可以访问其官方文档进行使用。
安装
我们可以通过 Python 包管理工具 pip 安装 Web3.py,如下:
pip3 install web3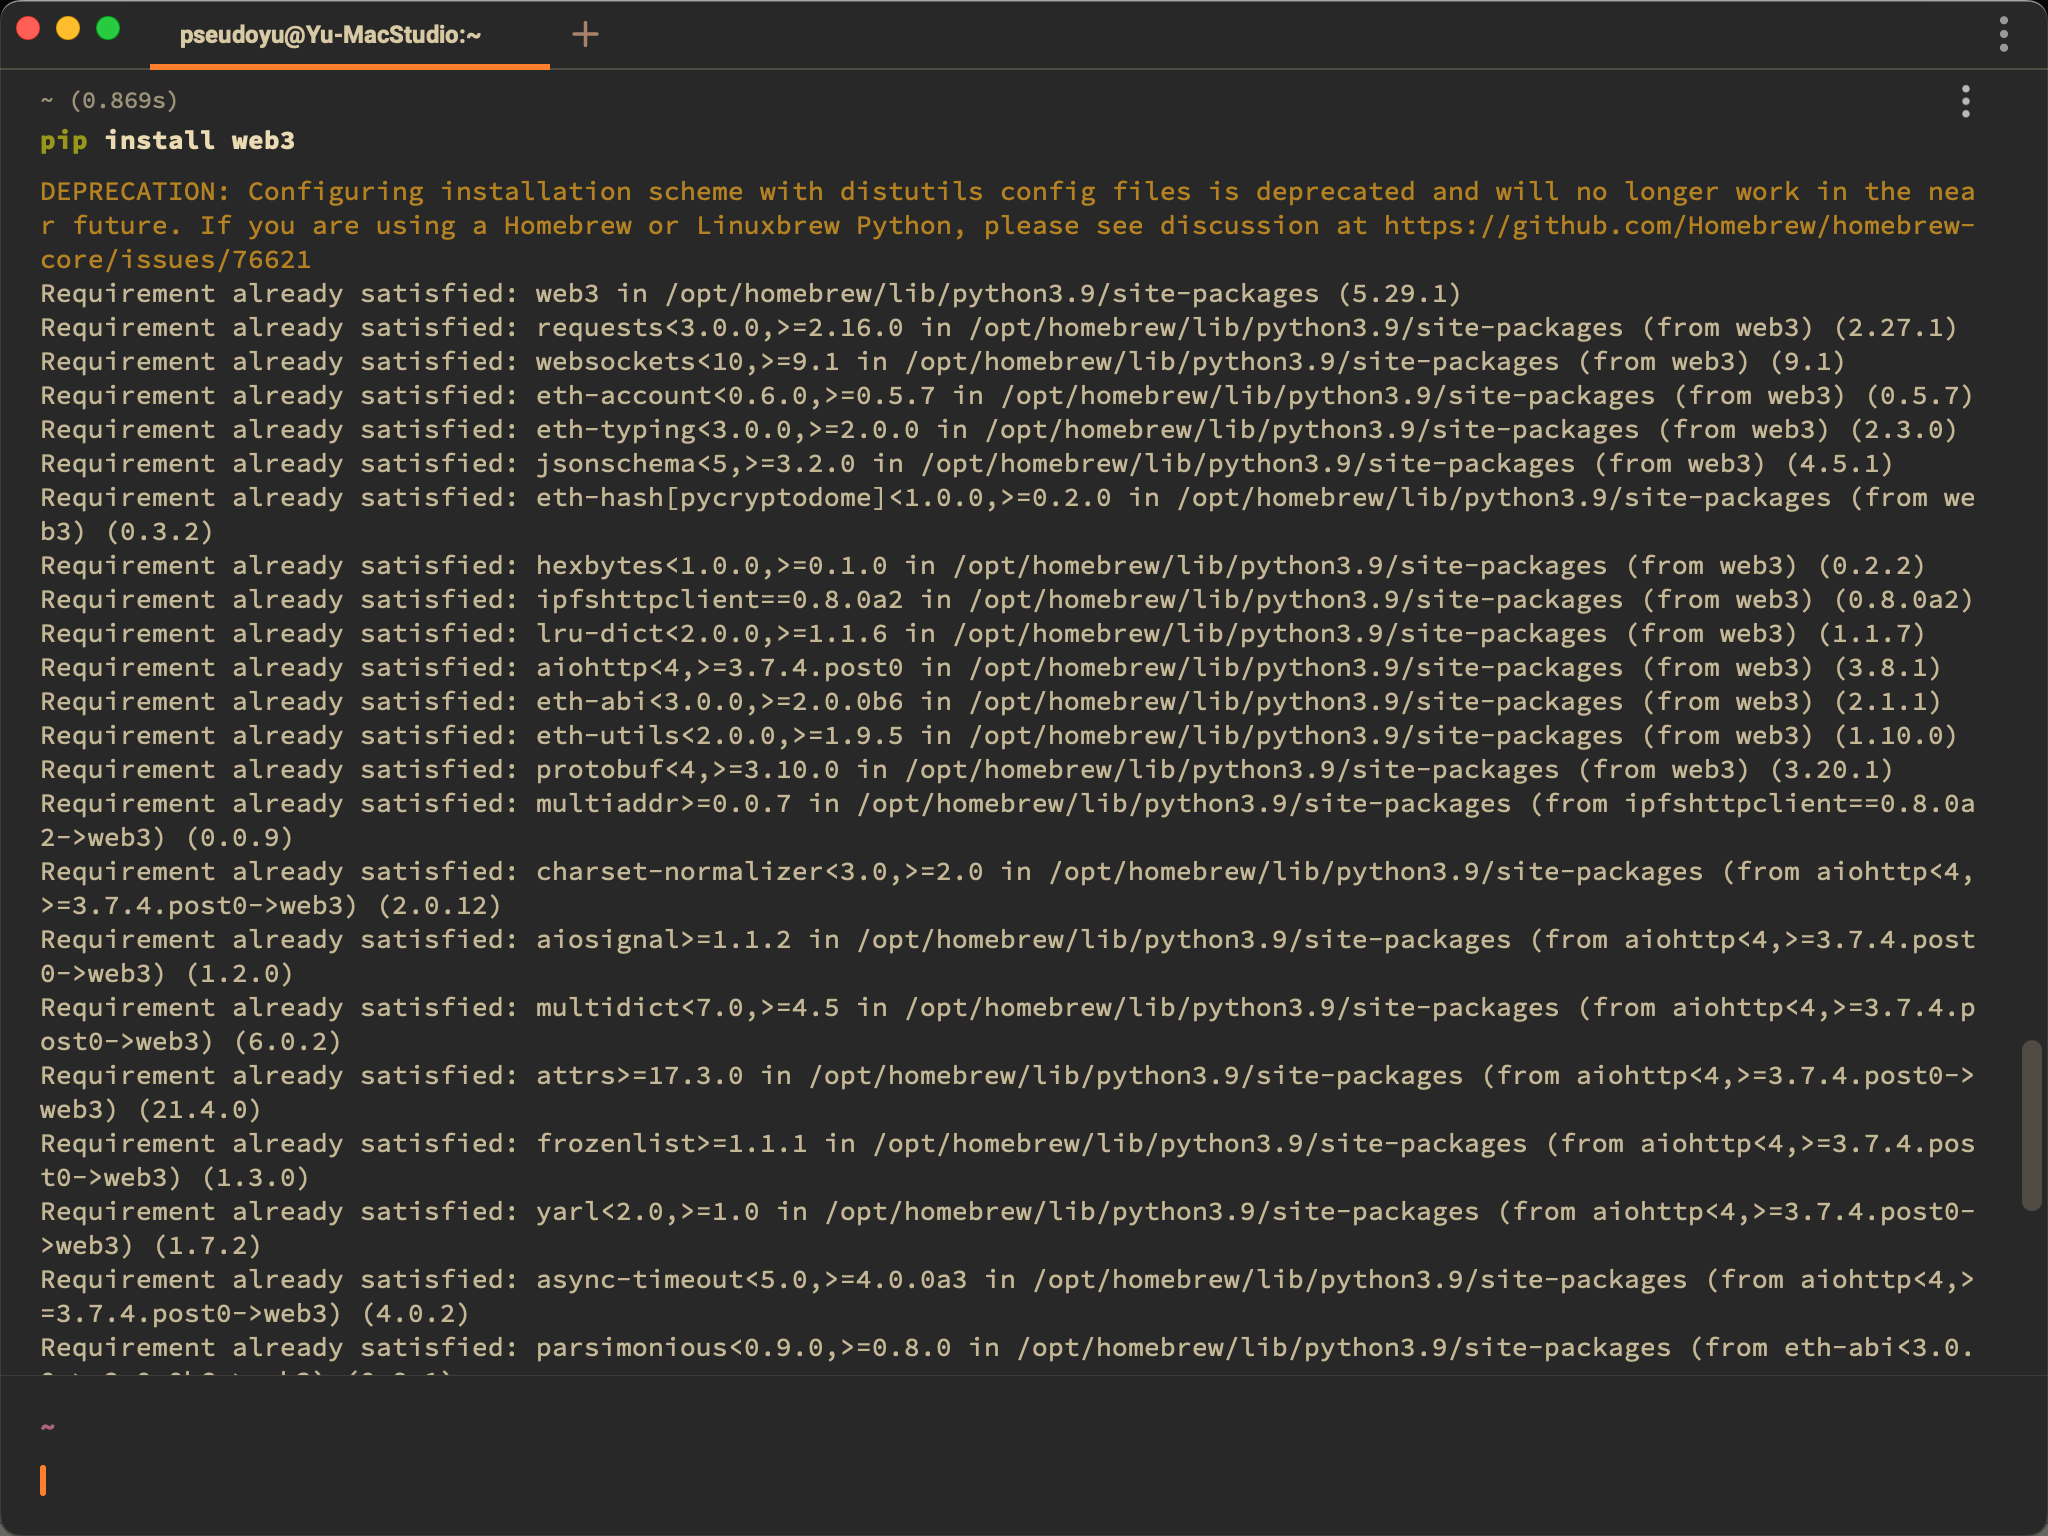
使用
使用 import 导入所需方法即可使用
from web3 import Web3

w3 = Web3(Web3.HTTPProvider("HTTP://127.0.0.1:7545"))
Solidity 合约编译
合约源码
// SPDX-License-Identifier: MIT

pragma solidity ^0.6.0;

contract SimpleStorage {
    uint256 favoriteNumber;
    bool favoriteBool;

    struct People {
        uint256 favoriteNumber;
        string name;
    }

    People public person = People({favoriteNumber: 2, name: "Arthur"});

    People[] public people;

    mapping(string => uint256) public nameToFavoriteNumber;

    function store(uint256 _favoriteNumber) public returns (uint256) {
        favoriteNumber = _favoriteNumber;
        return favoriteNumber;
    }

    function retrieve() public view returns (uint256) {
        return favoriteNumber;
    }

    function addPerson(string memory _name, uint256 _favoriteNumber) public {
        people.push(People({favoriteNumber: _favoriteNumber, name: _name}));
        nameToFavoriteNumber[_name] = _favoriteNumber;
    }
}
这是一个简单的存储合约,通过一个 People 结构体对象来存储人名和他喜欢数字,通过一个数组来存储多个人的信息,并提供了添加、查找方法。
读取合约源文件
当我们通过 VSCode 或其他编辑器完成 Solidity 合约编写与语法检查后,需要读取合约源文件并存入变量,供后续编译使用。
import os

with open("./SimpleStorage.sol", "r") as file:
    simple_storage_file = file.read()
上述代码将 SimpleStorage.sol 文件内容读取到变量 simple_storage_file 中。
编译合约
安装 solcx
合约编译需要预先安装 solcx 工具。
pip3 install py-solc-x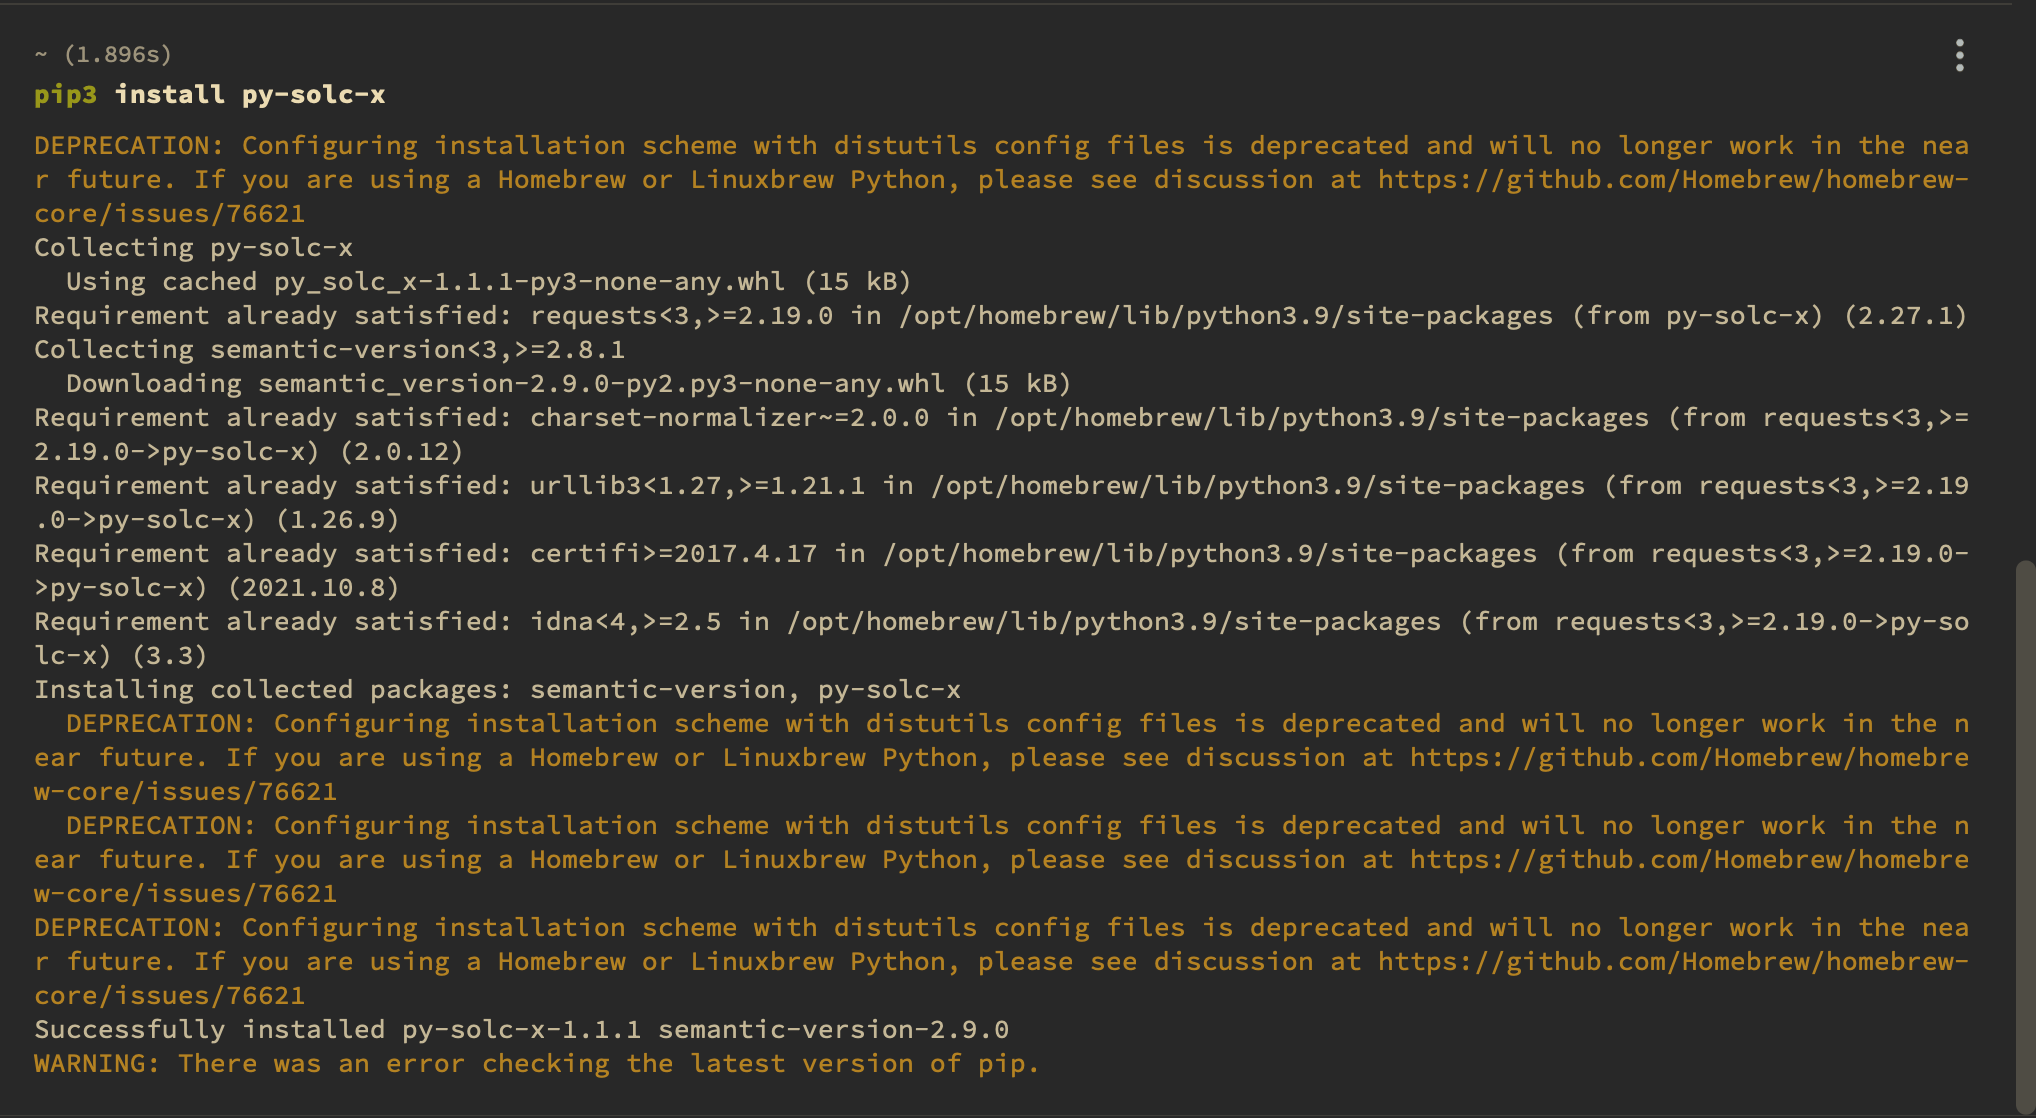
导入 solcx
使用 import 导入所需方法即可使用
from solcx import compile_standard, install_solc编译
install_solc("0.6.0")
compiled_sol = compile_standard(
    {
        "language": "Solidity",
        "sources": {"SimpleStorage.sol": {"content": simple_storage_file}},
        "settings": {
            "outputSelection": {
                "*": {"*": ["abi", "metadata", "evm.bytecode", "evm.sourceMap"]}
            }
        },
    },
    solc_version="0.6.0",
)
上述代码我们安装了 0.6.0 版本的 Solidity 编译程序,使用 solcx 库中的compile_standard 方法对上文读取的合约源文件进行编译,并将编译结果存入变量 compiled_sol 中。
获取编译结果
编译成功后,使用以下代码将编译好的合约写入文件
import json

with open("compiled_code.json", "w") as file:
    json.dump(compiled_sol, file)
获取 bytecode 与 abi
Solidity 合约的部署与交互需要 bytecode 与 abi 两个部分,我们可以通过通过以下代码将其写入对应变量供后续操作使用。
# get bytecode
bytecode = compiled_sol["contracts"]["SimpleStorage.sol"]["SimpleStorage"]["evm"][
    "bytecode"
]["object"]

# get abi
abi = compiled_sol["contracts"]["SimpleStorage.sol"]["SimpleStorage"]["abi"]
本地 Ganache 环境
智能合约的调试需要将合约部署到实际的链上,而部署到 Ethereum 主网络或 Rinkeby/Koven 等测试网等也不方便调试,因此,我们需要一个本地的区块链环境,Ganache 就给我们提供了一个这样的本地调试环境。Ganache 主要分为 GUI 和 CLI 两种安装方式。
Ganache GUI
在自己的本地环境,如 Mac/Windows 等系统,我们可以选择带图形界面的 Ganache 客户端,安装与使用都十分便捷,在 Ganache 官网选择对应版本即可。
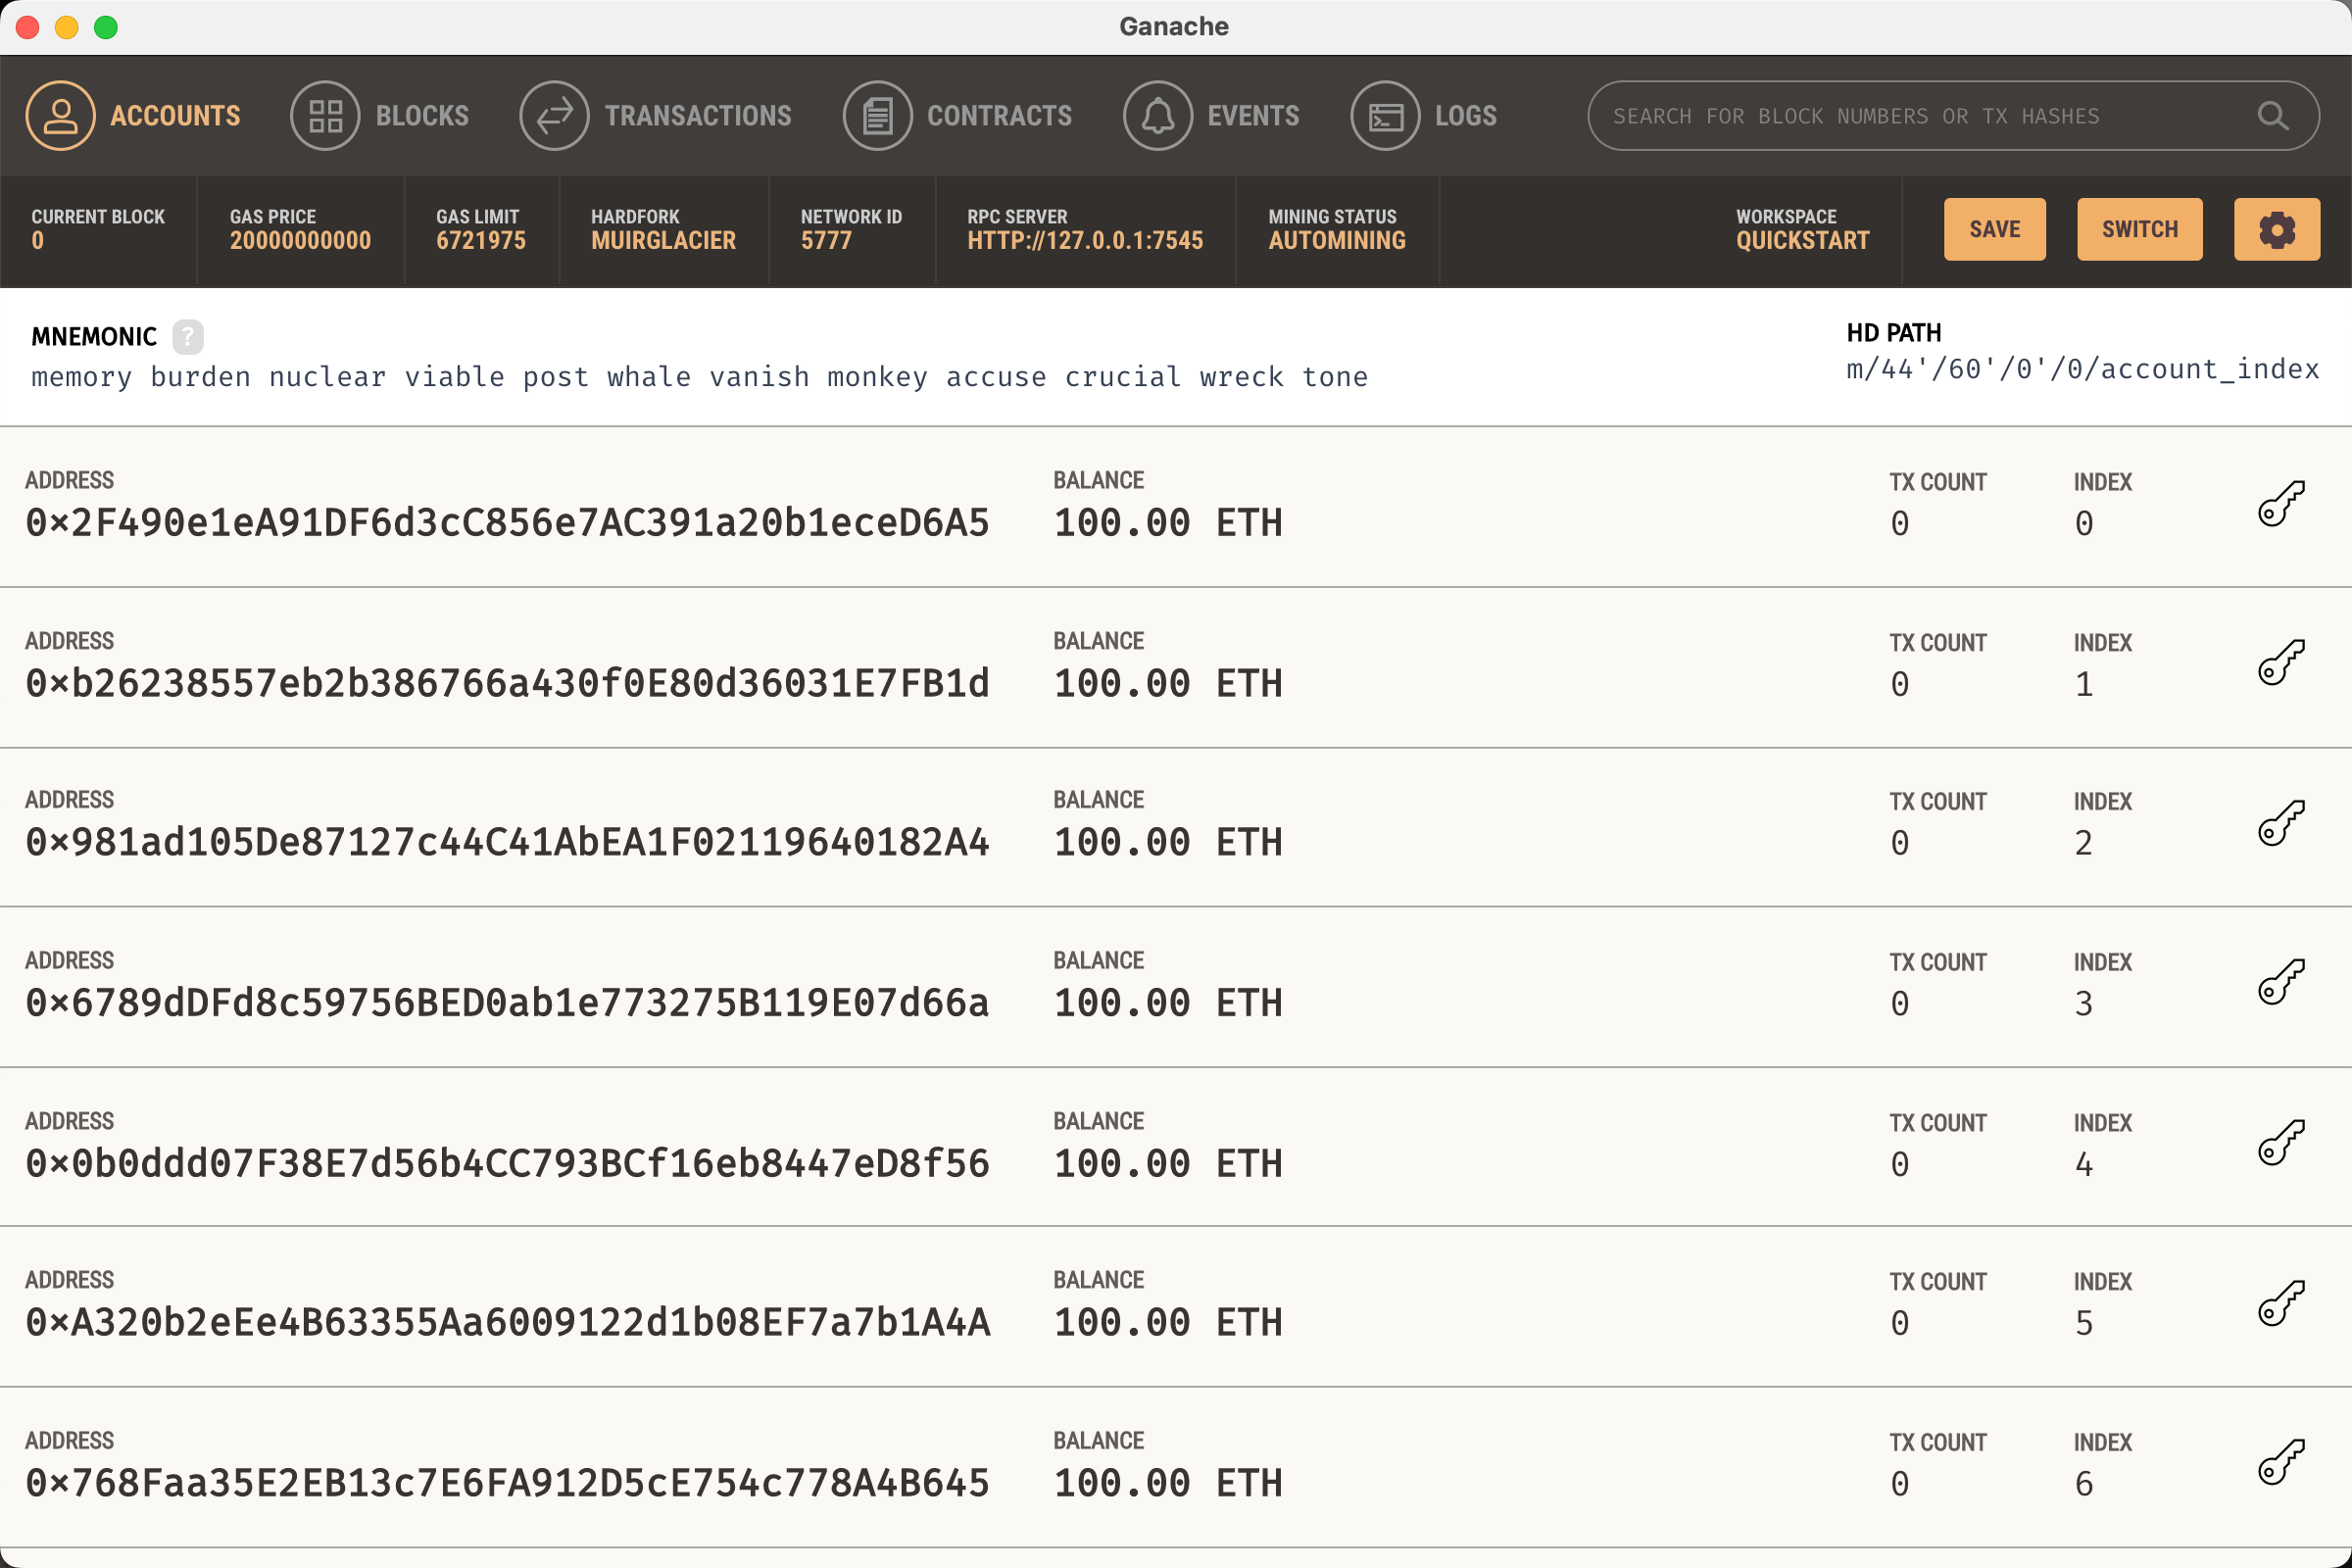
安装完成后选择 Quick Start 即可快速启动一条本地运行的区块链网络,并初始化了十个拥有 100 ETH 的账户,开发调试过程中可使用。
Ganache CLI 安装
如果您的系统不支持 GUI 安装,我们可以使用 CLI 安装,安装方式如下:
npm install --global yarn
yarn global add ganache-cli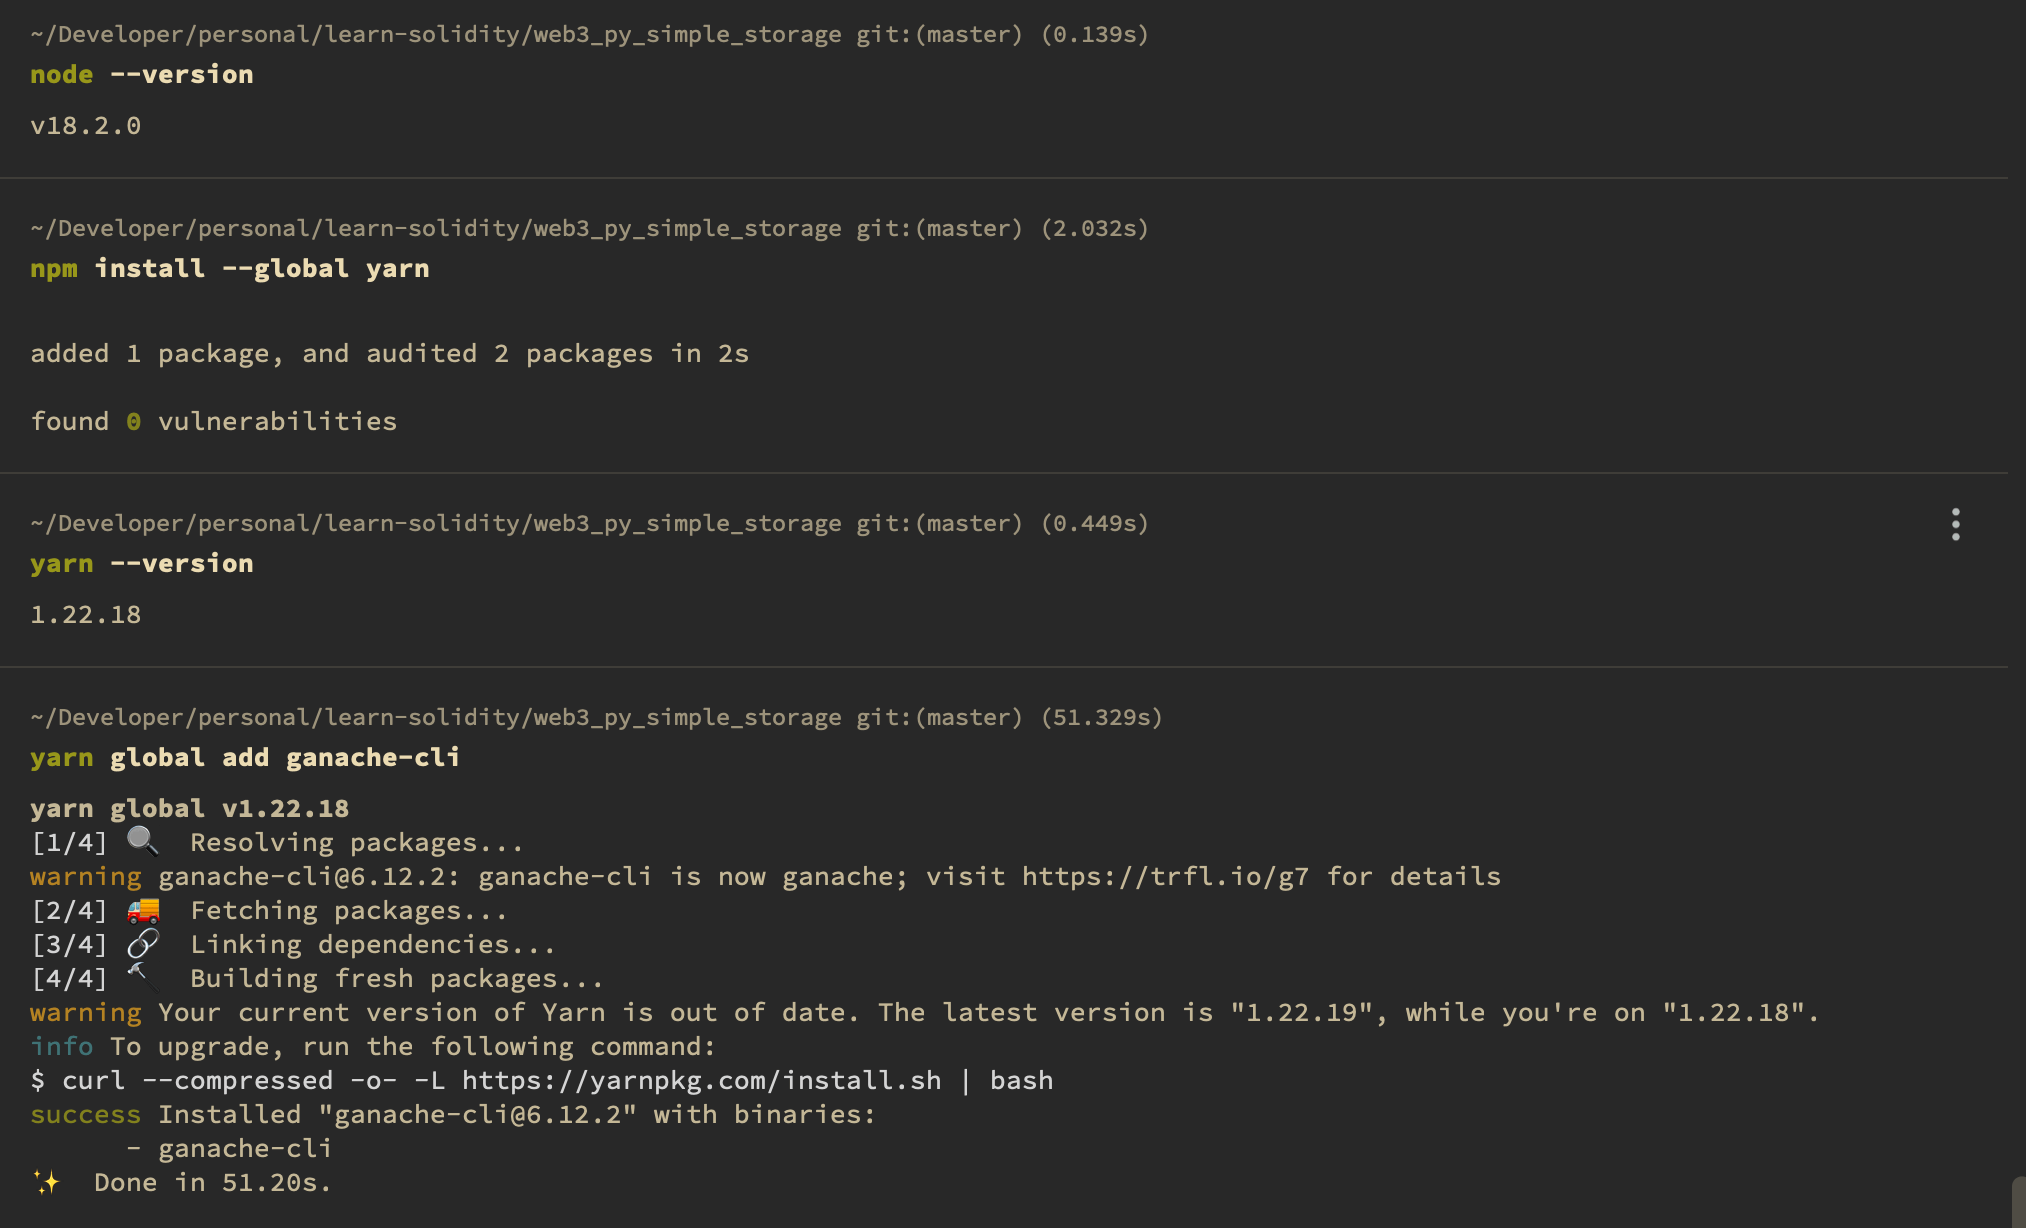
等待其安装完成后即可启动本地测试网络,与 Ganache GUI 一致,也包含初始化账户与余额。
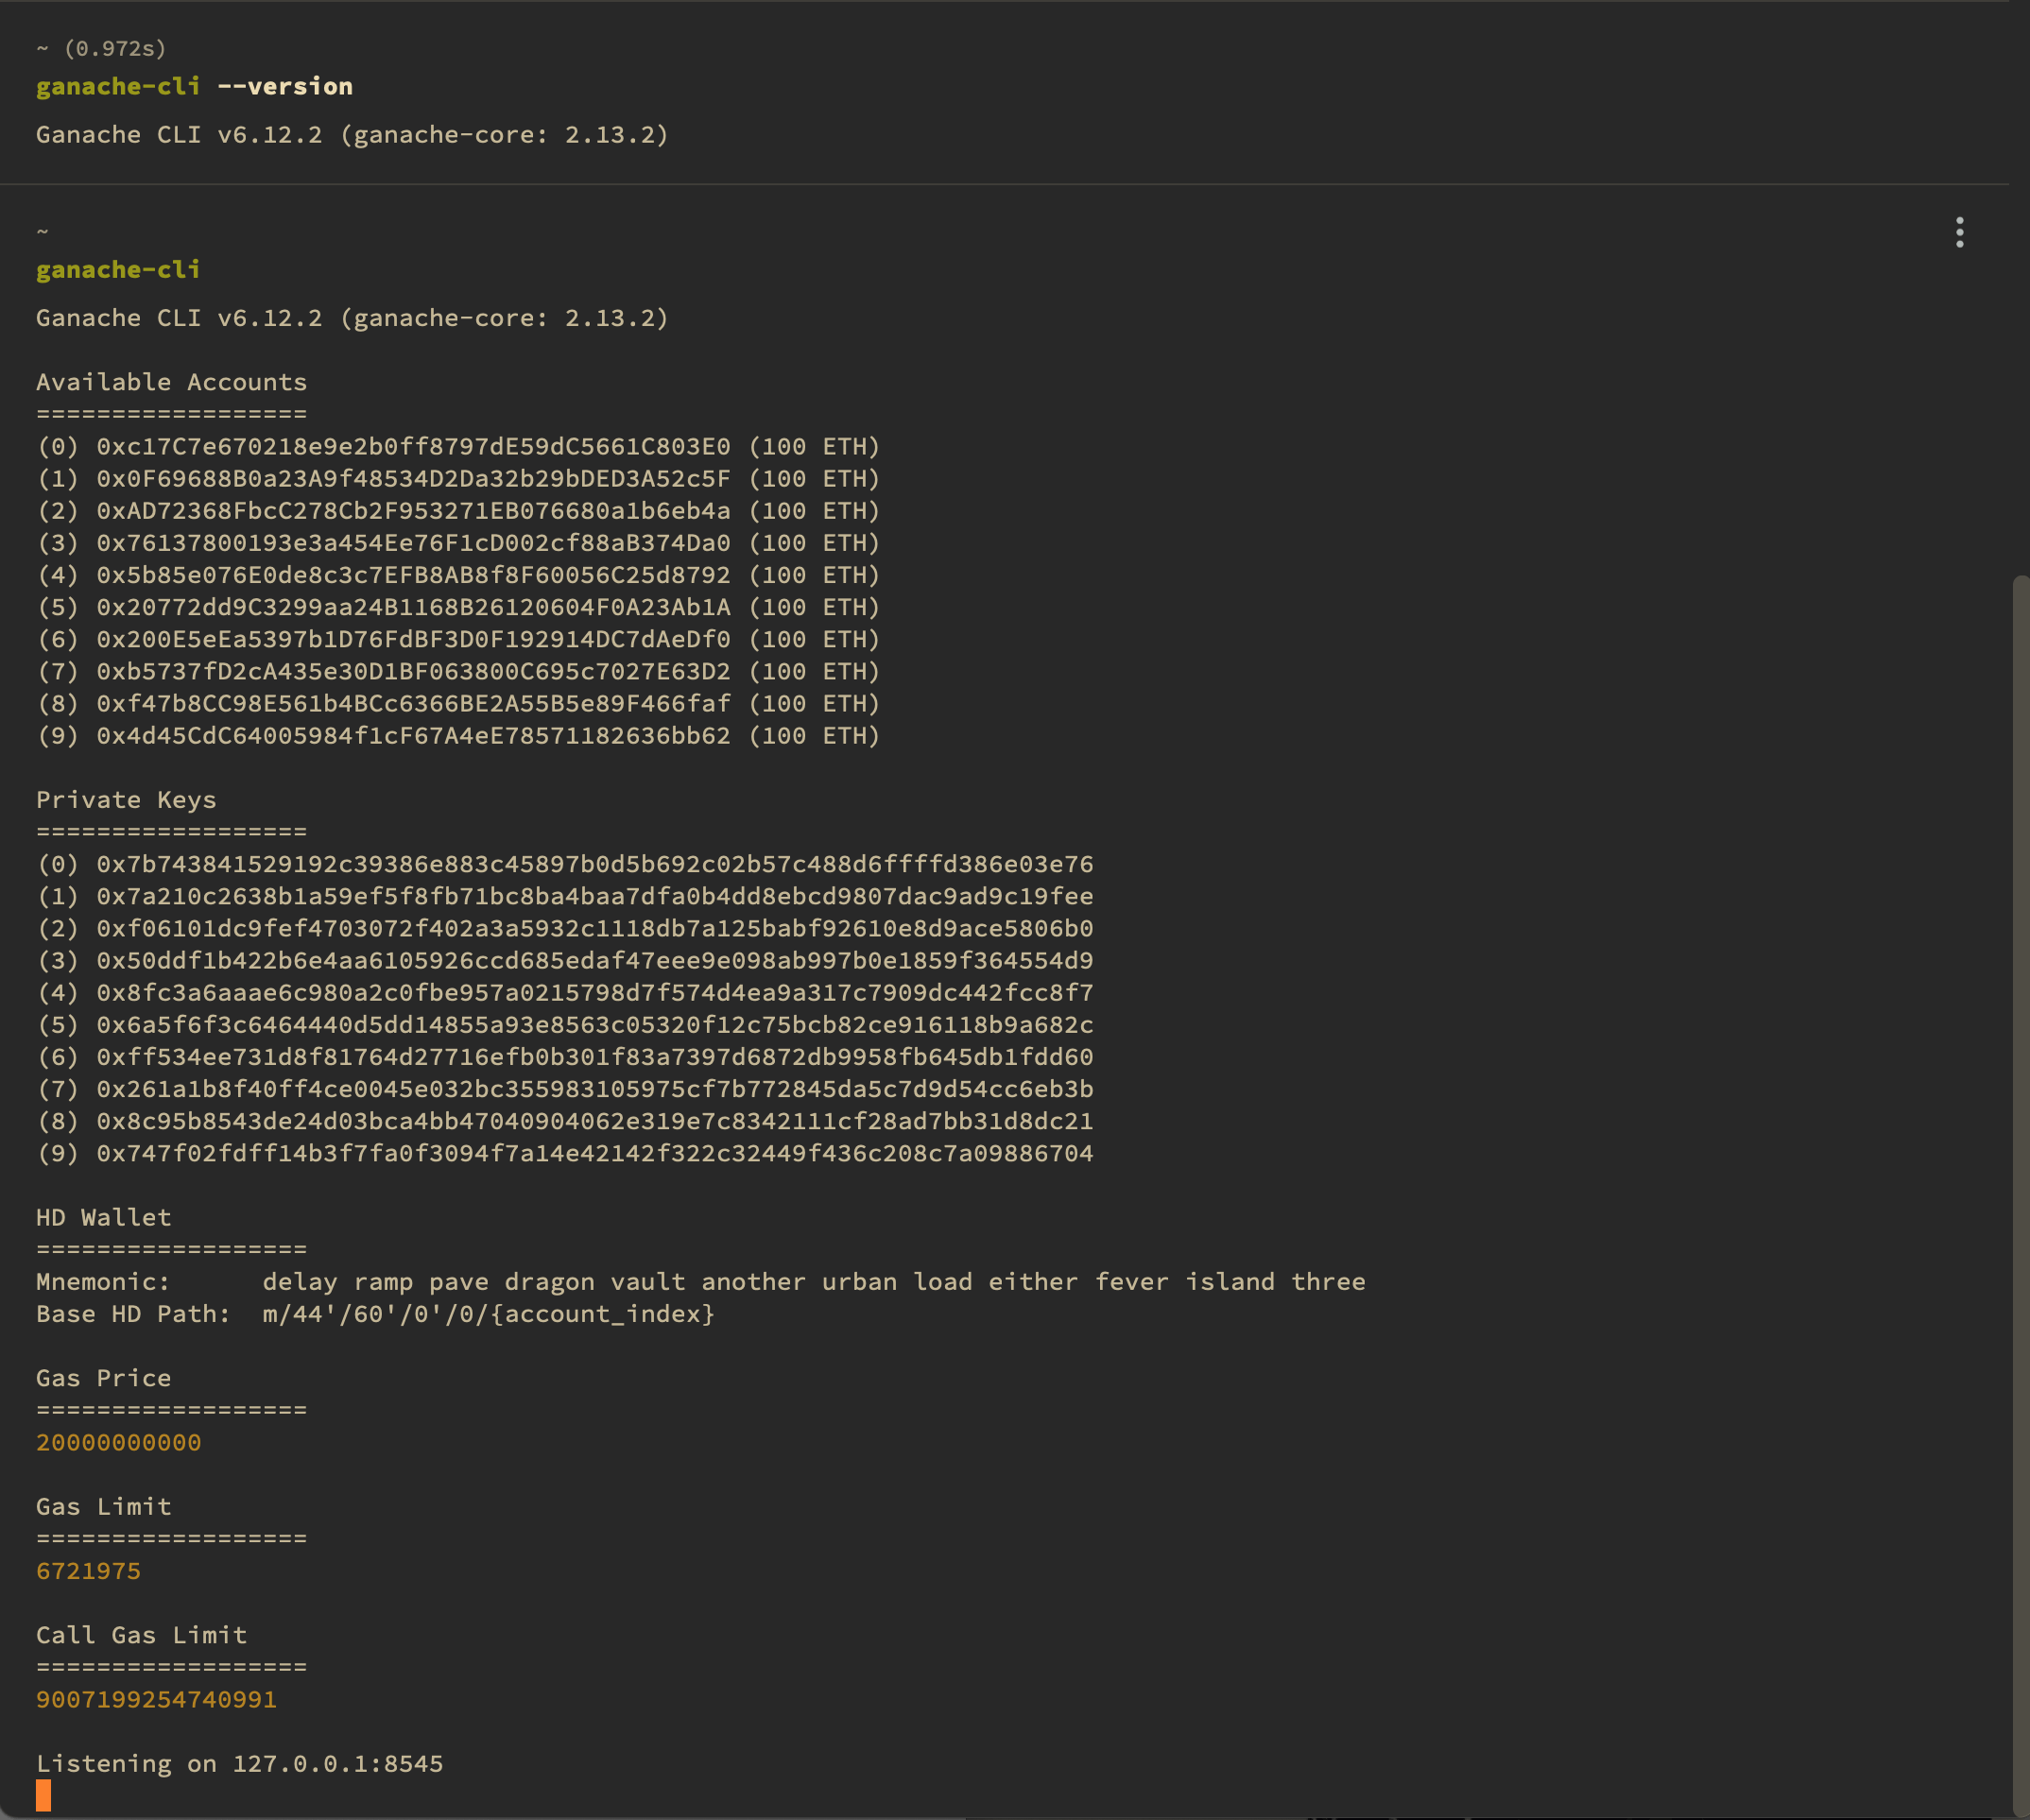
通过 web3 连接本地 Ganache 环境
web3 提供了库可以方便地连接到本地 Ganache 环境:
w3 = Web3(Web3.HTTPProvider("HTTP://127.0.0.1:7545"))
chain_id = 5777
my_address = "0x2F490e1eA91DF6d3cC856e7AC391a20b1eceD6A5"
private_key = "0fa88bf96b526a955a6126ae4cca0e72c9c82144ae9af37b497eb6afbe8a9711"
Solidity 合约部署
创建合约
我们可以通过 web3 库创建合约。
SimpleStorage = w3.eth.contract(abi=abi, bytecode=bytecode)部署合约
部署合约分为三个主要步骤:
- 构造交易
- 签名交易
- 发送交易
构造交易
nonce = w3.eth.getTransactionCount(my_address)

transaction = SimpleStorage.constructor().buildTransaction(
    {
        "chainId": chain_id,
        "gasPrice": w3.eth.gas_price,
        "from": my_address,
        "nonce": nonce,
    }
)
签名交易
signed_txn = w3.eth.account.sign_transaction(transaction, private_key=private_key)发送交易
tx_hash = w3.eth.send_raw_transaction(signed_txn.rawTransaction)
tx_receipt = w3.eth.wait_for_transaction_receipt(tx_hash)
与合约交互
与部署合约步骤类似,我们可以通过 web3 库与合约交互,也分为构造交易、签名交易和发送交易三个步骤。
构造交易
simple_storage = w3.eth.contract(address=tx_receipt.contractAddress, abi=abi)

store_transaction = simple_storage.functions.store(67).buildTransaction(
    {
        "chainId": chain_id,
        "gasPrice": w3.eth.gas_price,
        "from": my_address,
        "nonce": nonce + 1,
    }
)
签名交易
signed_store_txn = w3.eth.account.sign_transaction(
    store_transaction, private_key=private_key
)
发送交易
send_store_tx = w3.eth.send_raw_transaction(signed_store_txn.rawTransaction)
tx_receipt = w3.eth.wait_for_transaction_receipt(send_store_tx)
总结
以上就是我们通过 Web3.py 库与本地 Ganache 测试网络进行交互的步骤,在真正的生产项目开发中我们一般不会直接使用 Web3.py 这样的库,而是会使用 Brownie、HardHat 等进一步封装的库,但了解 Web3.py 或 Web3.js 等库的使用方法也非常重要。